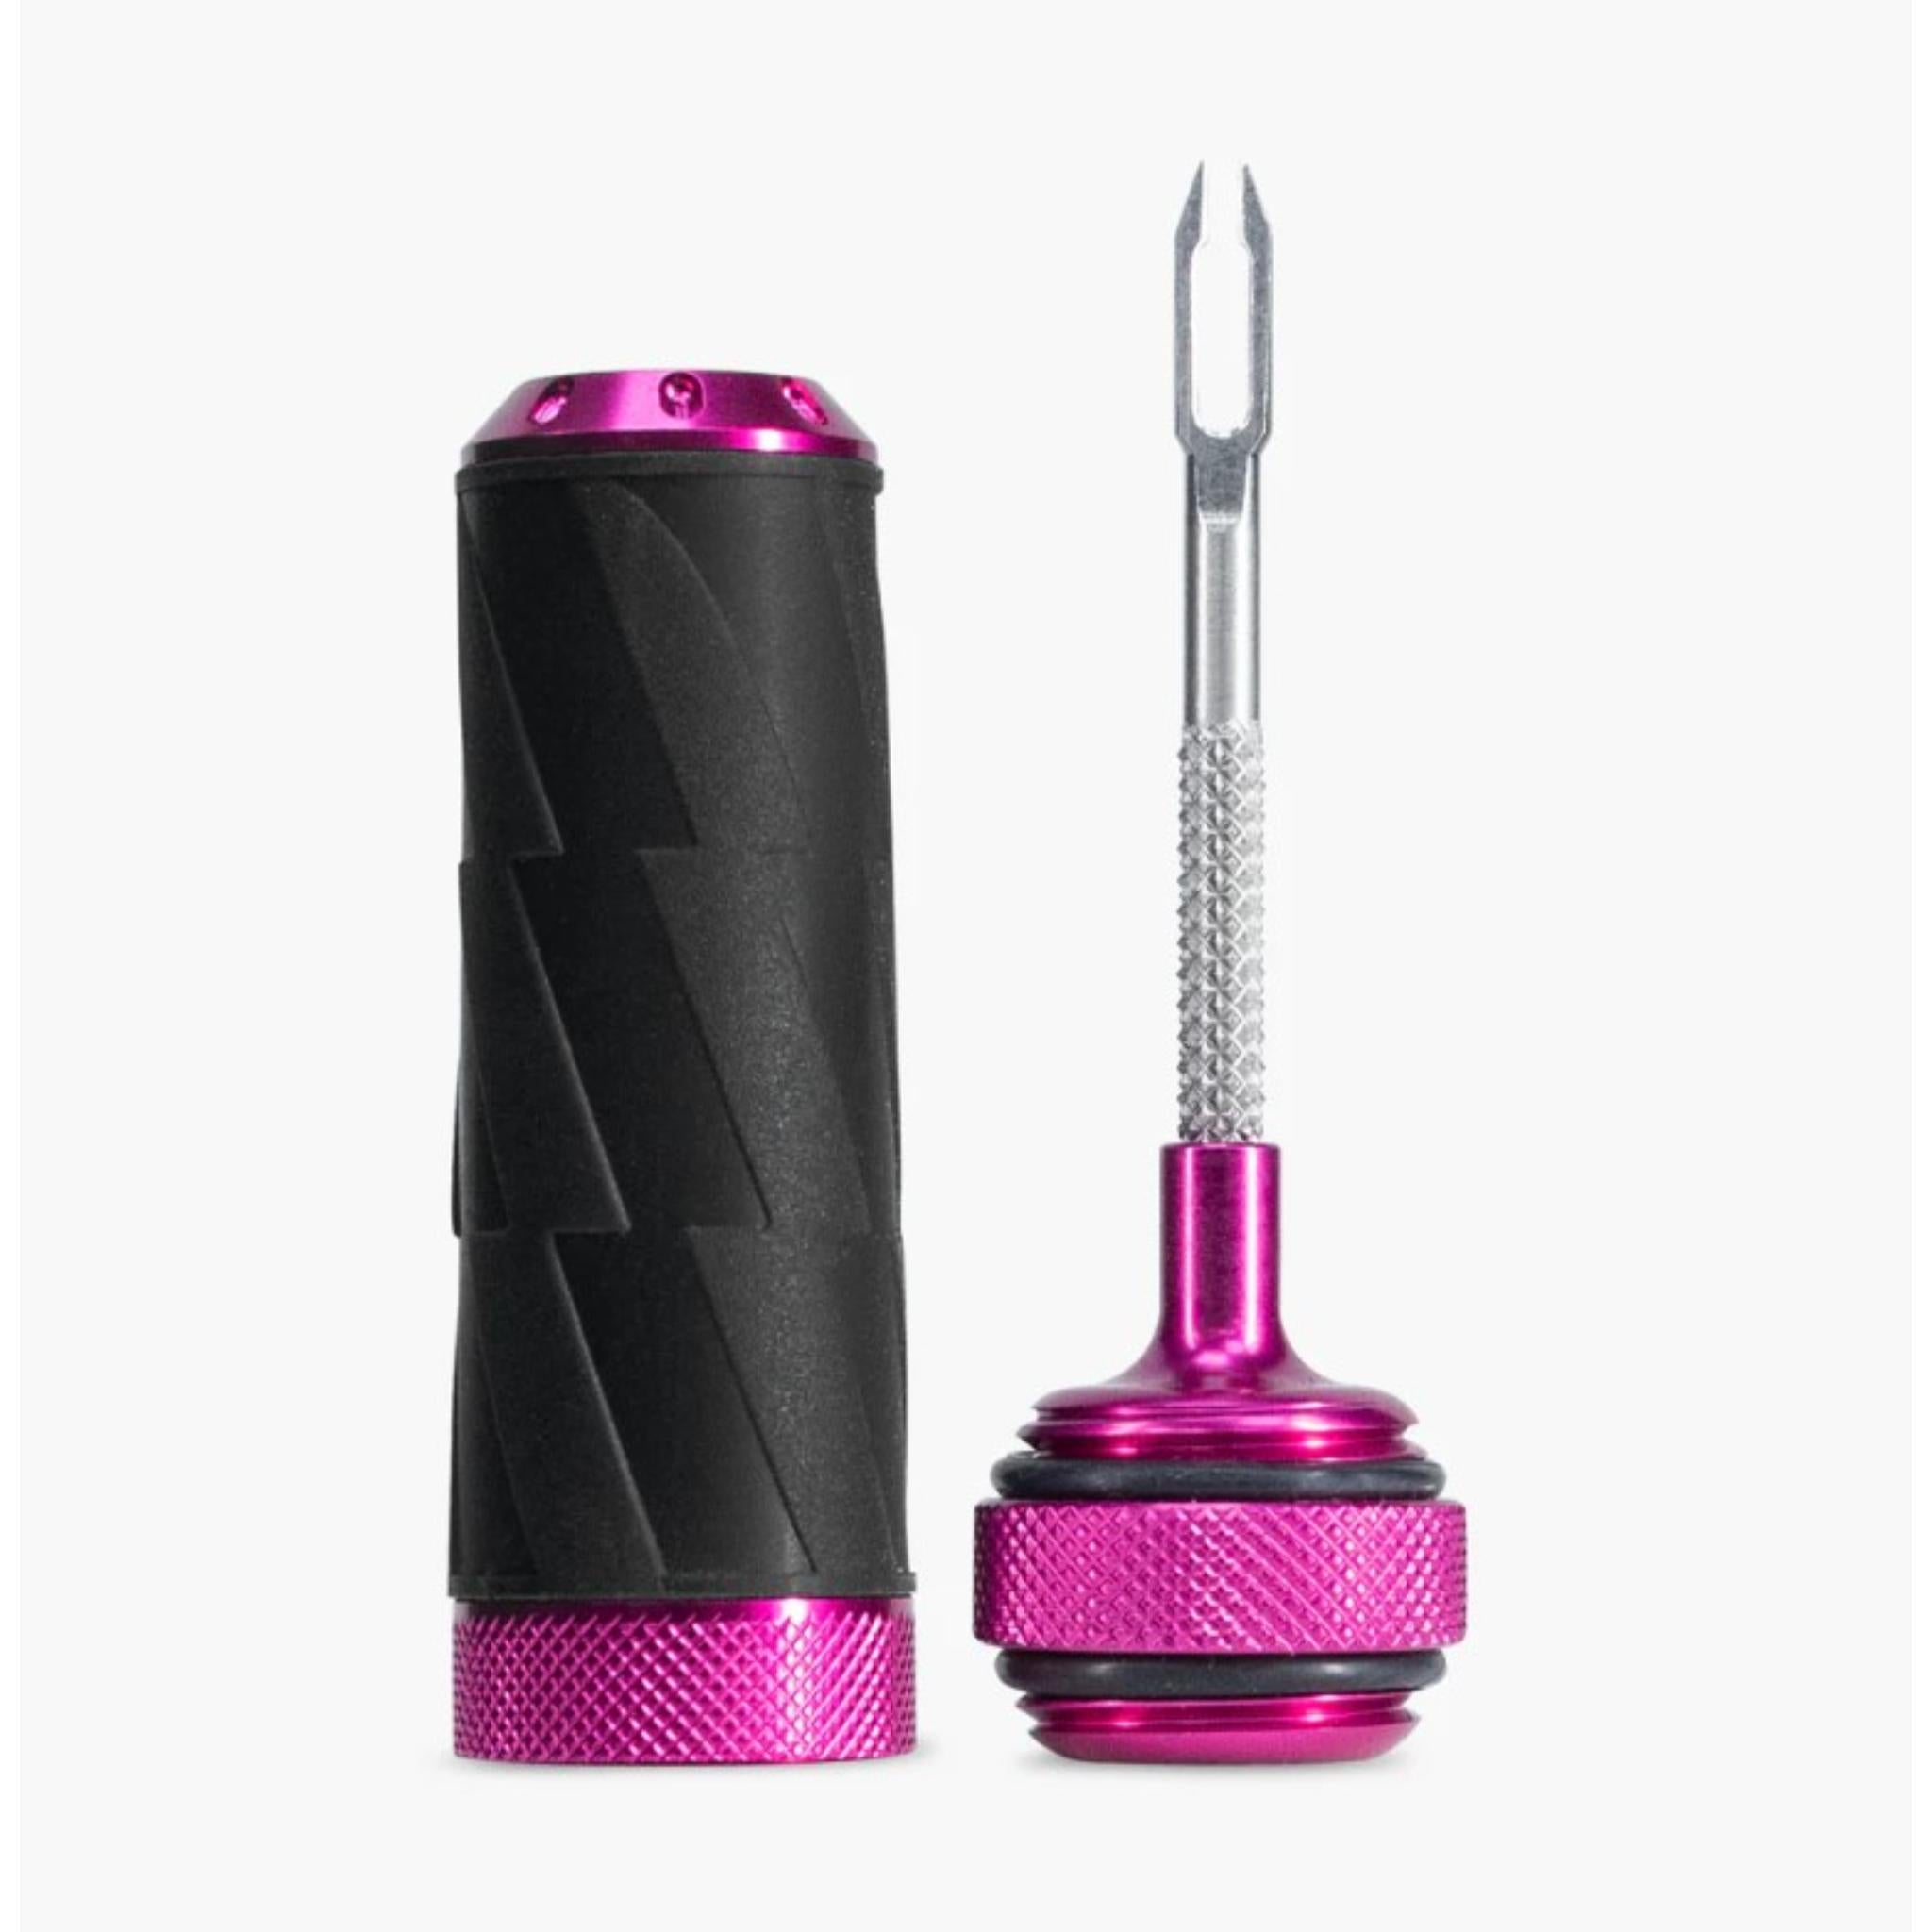
Ride uninterrupted with Muc Off's Precision Tubeless Repair Capsule. It’s lightweight, easy-to-use, and the ultimate backup for those gnarly punctures that just won’t seal.
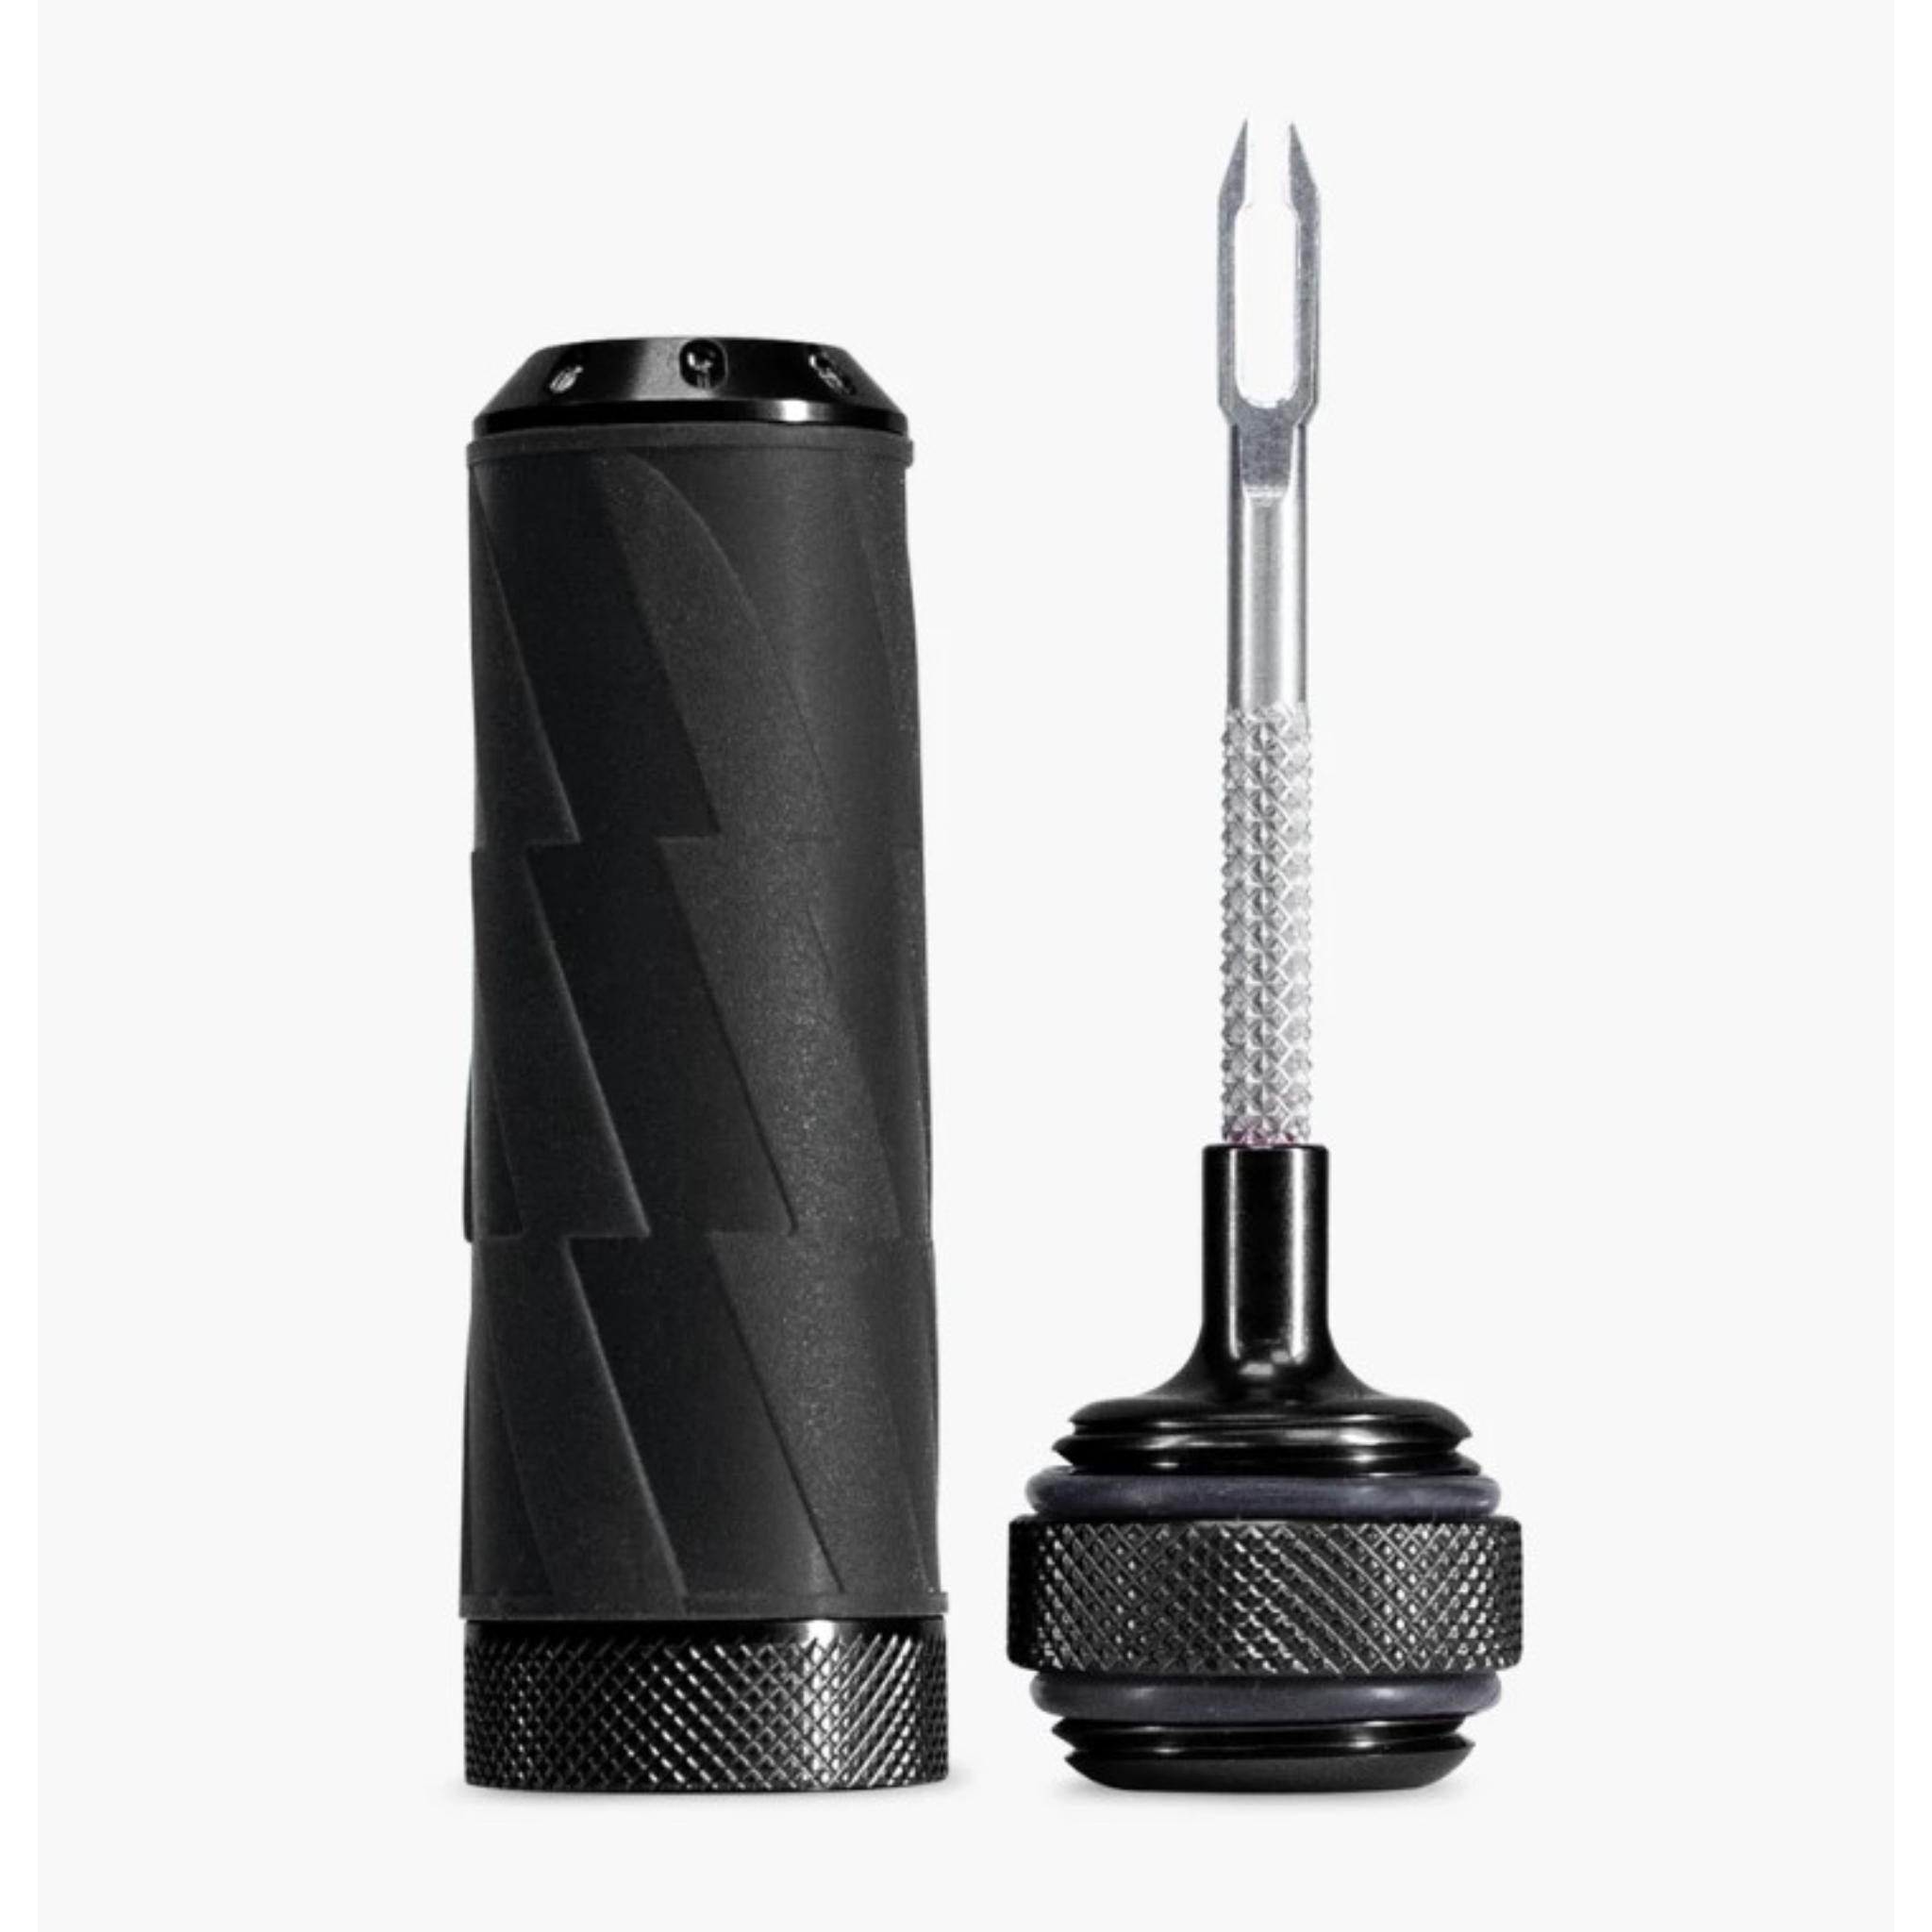
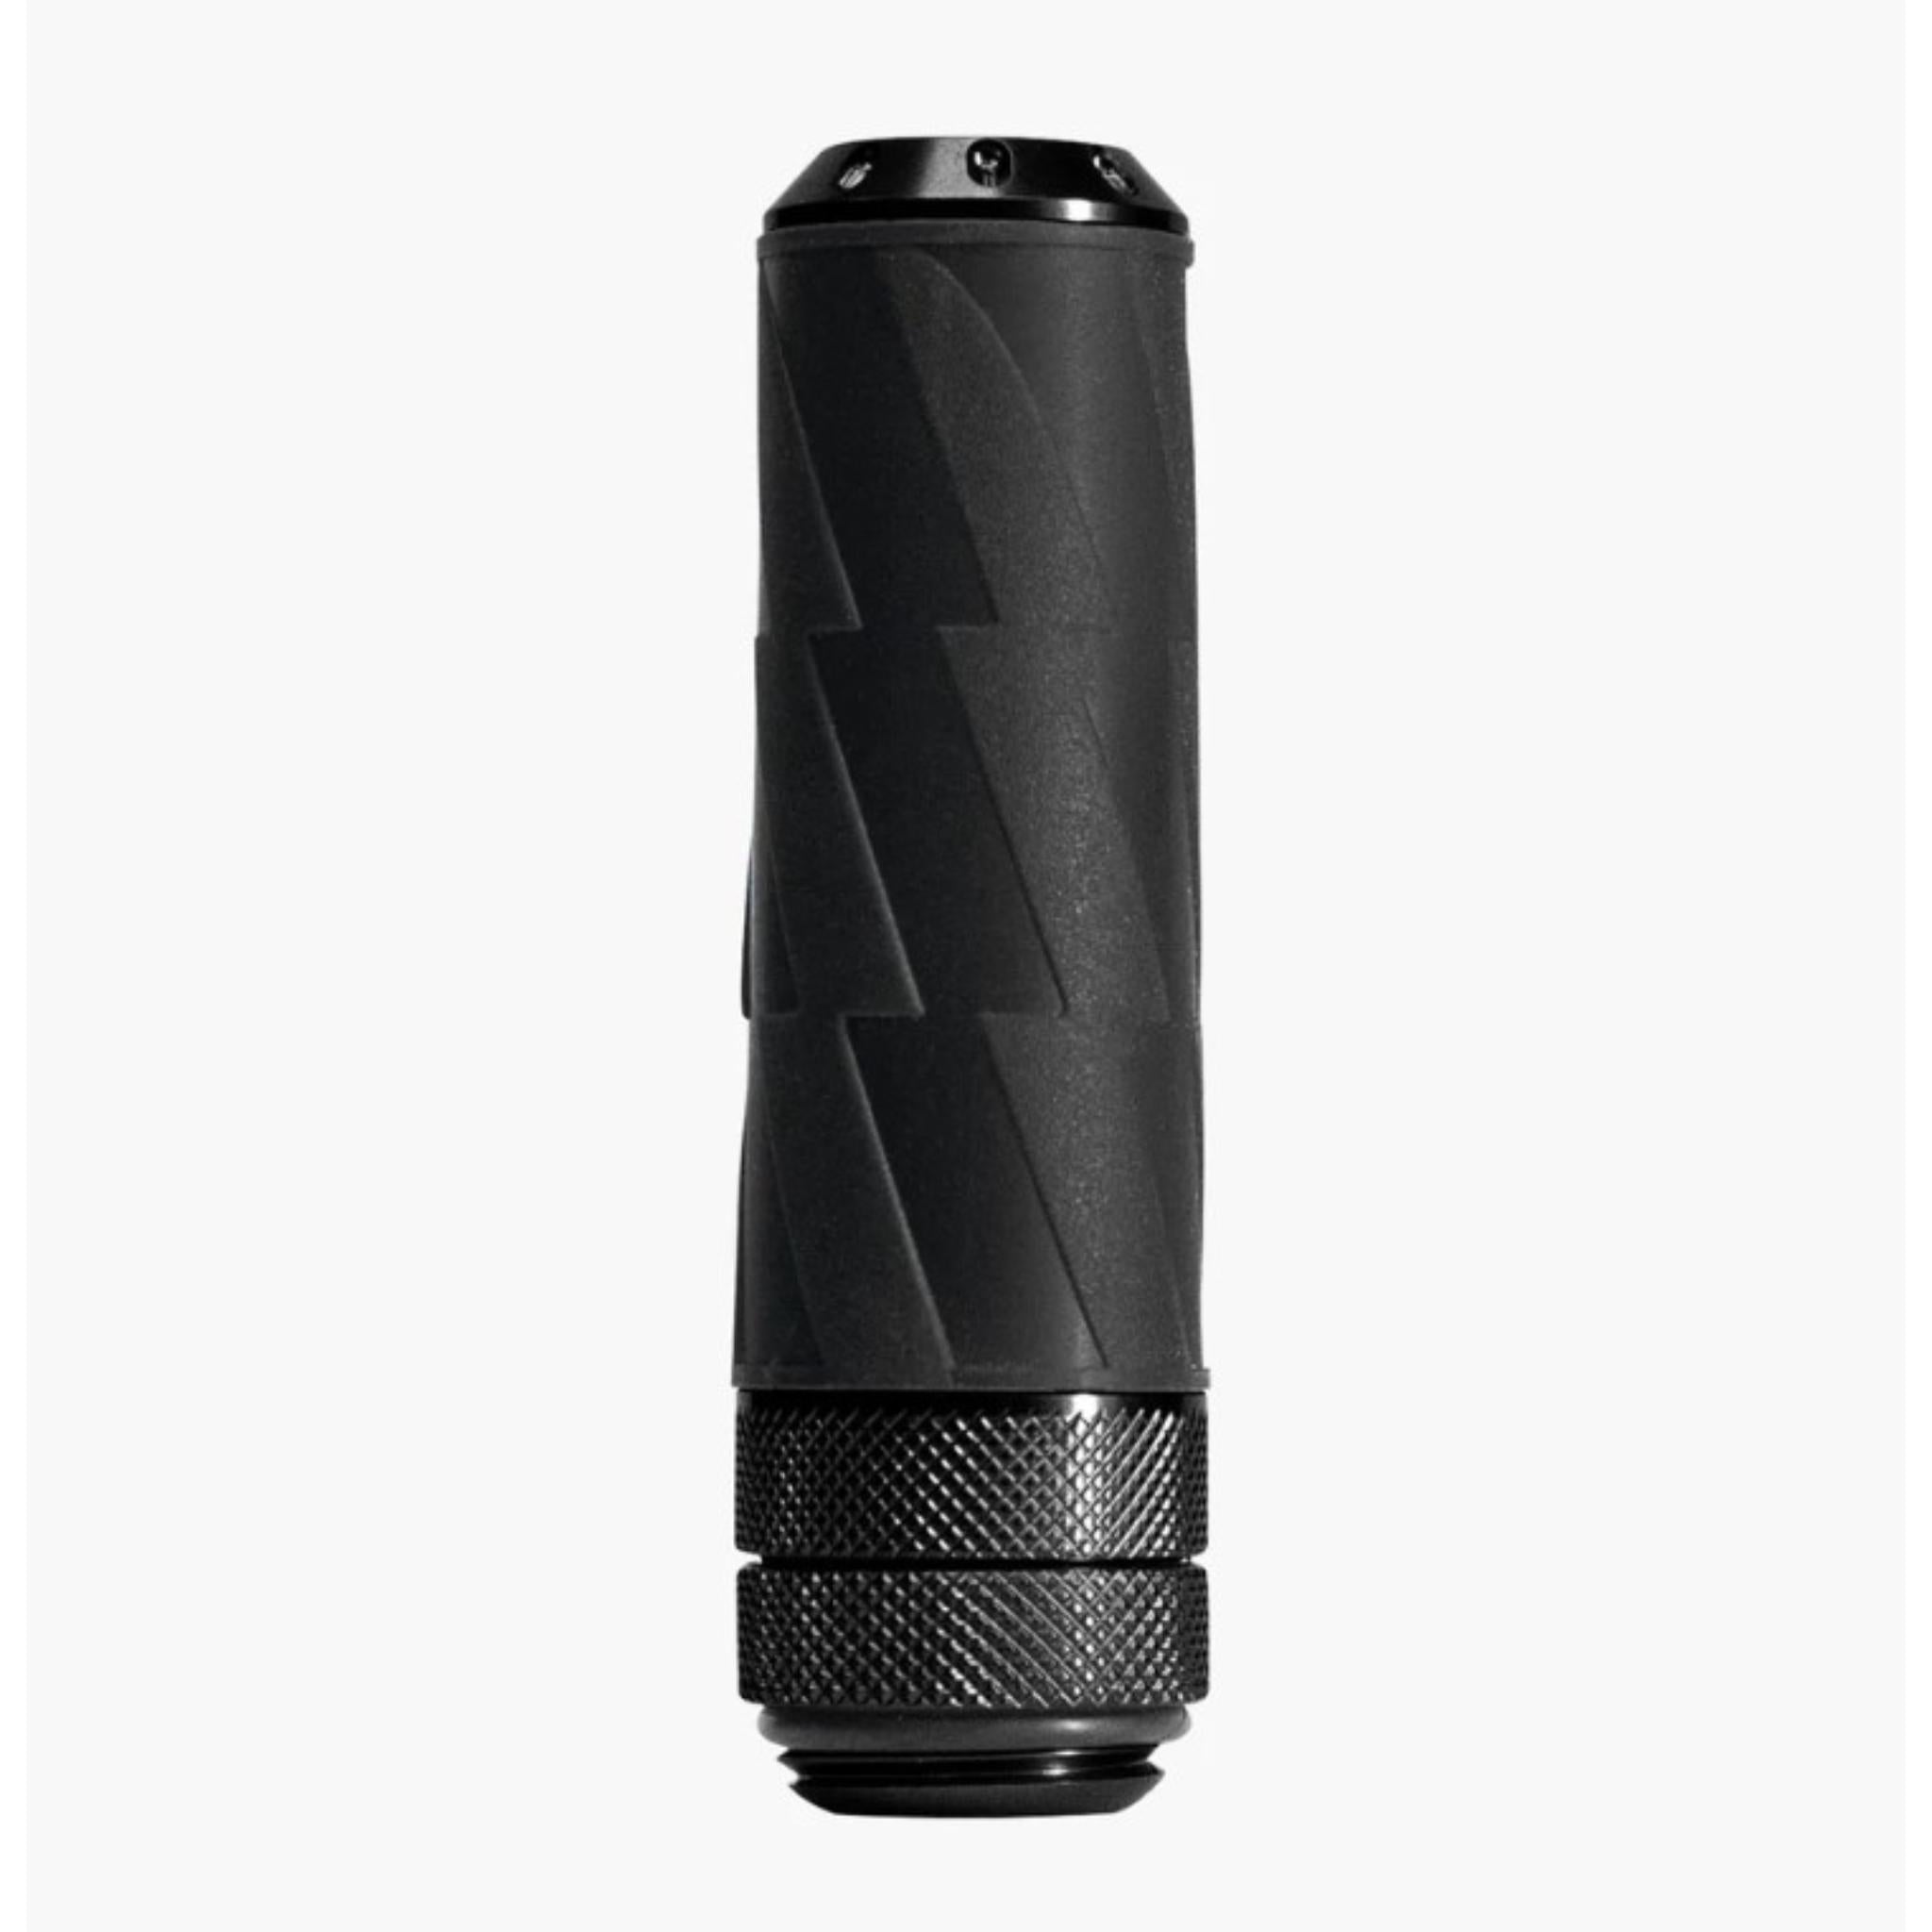
The tough and durable CNC machined 6061 aluminium body doubles as a stash for your worms and the tool’s handle is silicone wrapped for an easy grip in all conditions.
It’s both a puncture plug and a reamer tool thanks to the hardcore 304 Stainless steel 2 in 1 integral tool, and comes supplied with 5x thin, 5x medium, and 5x thick worms. It’s compatible with all tubeless road, gravel, and MTB tyres.
- Durable CNC Machined 6061 Aluminium construction
- Premium anodised finish
- Stainless Steel 2-in-1 puncture plug/reamer tool
- Integrated Presta valve core remover slot
- Compact capsule body stashes tyre worms
- Silicone wrap for grip
- Knurled screw in design with weatherproof O-ring
- Compatible with Road, Gravel, and MTBs with tubeless tyre setups
- Capsule/body: 6061 Aluminium
- Puncture Plug tool/reamer: 304 Stainless Steel
- Weight: ~26g (excluding plugs)
- 66 mm x 20 mm
- Colours: Available in Black and Pink
- Puncture Plug 2in1 tool and capsule
- Supplied with 15 plugs: 5 thin, 5 medium, 5 thick (Refill packs available separately).
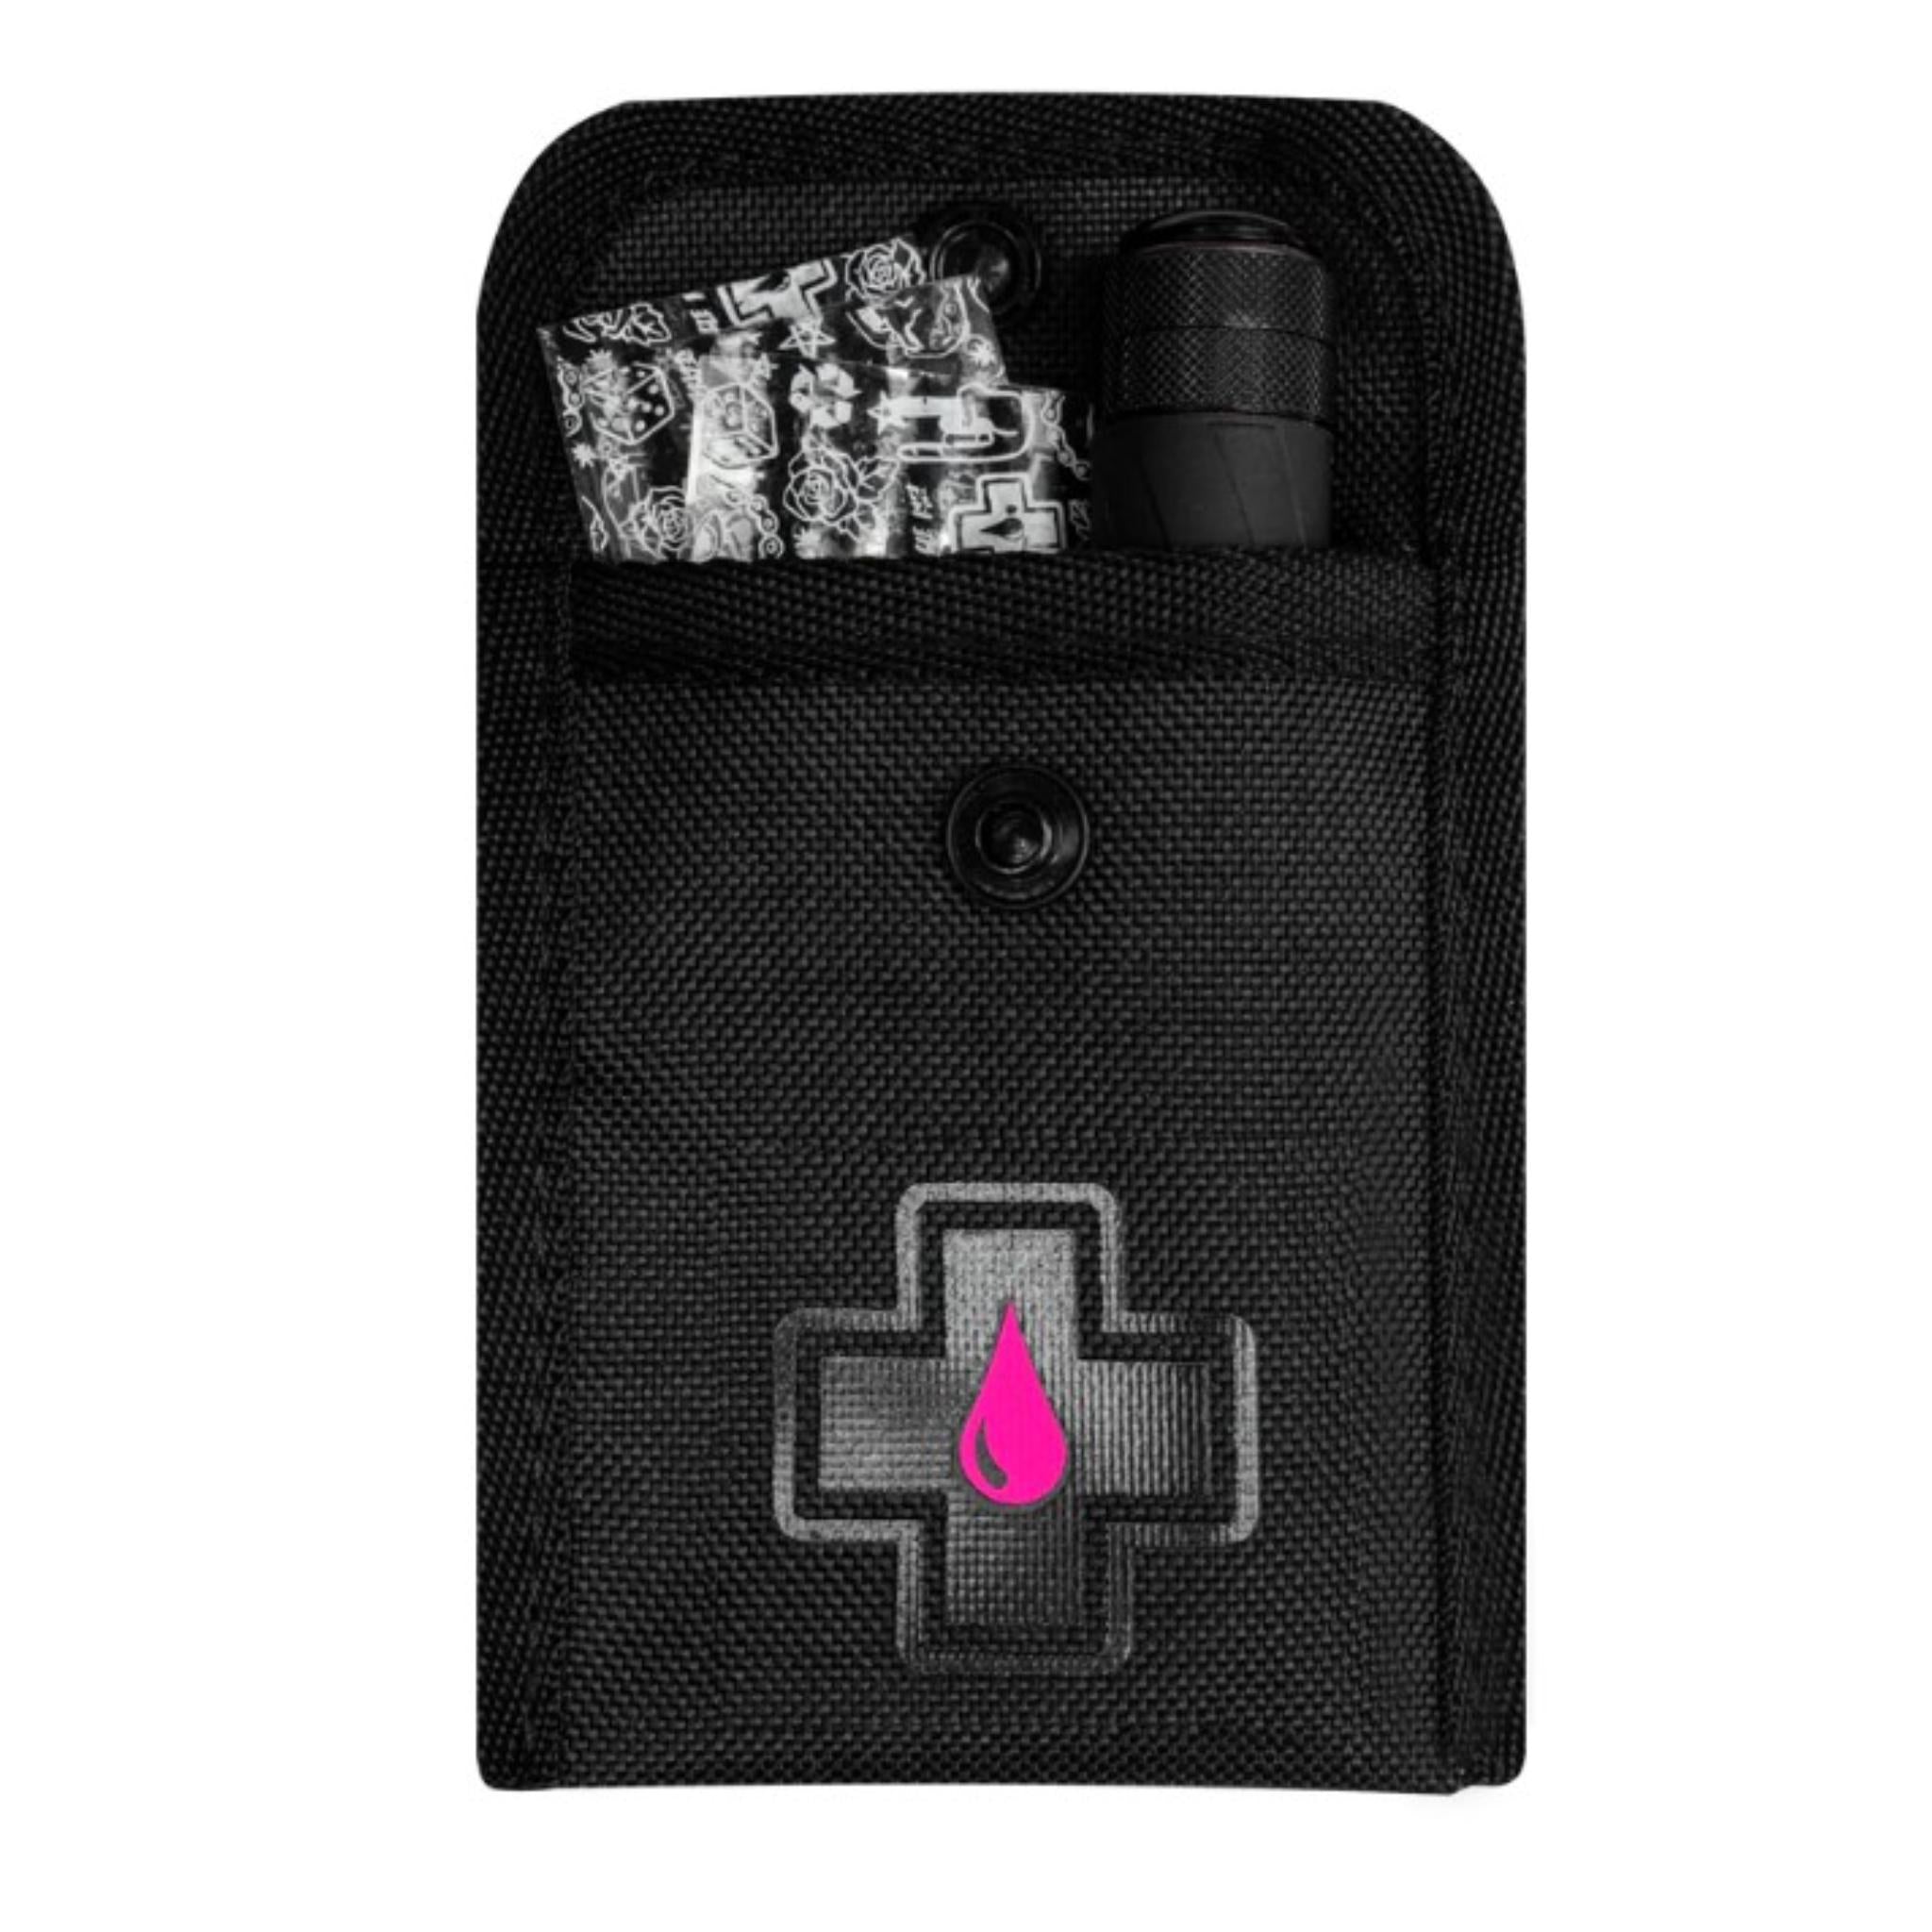
- Cordura® stash pouch
How to Use:
- Identify the source of the puncture and remove the debris or puncture source.
- If the puncture requires the medium or larger worms then ream the hole several times with the knurled area of the tool, make sure you use a 45-degree angle and follow the direction of the tyre to ensure you don’t damage your tubeless tape or the tyre wall!
- Now Grab a tyre worm (you may need to use the tool to help slide out the worms). The largest size is for MTB tyres the medium for gravel tyres and the small for road tyres, but you can select the best one for your sized hole. Now pinch one end of the worm hard between your fingers to flatten it out. (If using the thin worm thread through the tip at the end of the tool, not the main larger slot)
- Thread through gap at the end of the tool so the worm is now sitting centrally on the tool.
- Locate the puncture hole then insert the tool through the hole (at a 45 degree angle and follow the direction of the tyre to ensure you don’t damage your tubeless tape or the tyre wall!) until the worm is around halfway through the tyre. Ensure the ends of the worm remain on the outside of the tire.
- Turning the tool slowly clockwise a few revolutions to twist the worm inside the tire and slowly pull up to remove – leaving the worm in your tyre and the hole plugged.
- Re-inflate tyre to your desired pressure and you’re ready to roll!(We recommend a max of 80 PSI on a road bike!)
- Once you are home we’d recommend trimming the worm ends down with a knife so there is a minimum of 3-5mm still sticking out the tyre. (Be careful when trimming).
TOP TIP! Simply trim down your different sized worms into singles or doubles and place them inside the capsule so you have multiple options for different sized punctures!
WARNING: Keep out of reach of children. The tool has SHARP EDGES so use with caution. For Road tyres we strongly recommend replacing your plugged tyre once it’s safe to do so, particularly if you want to use with high psi!
(We recommend a max of 80 PSI on a road bike!)
Precision Tubeless Repair Capsule
Order within [time] for delivery by [date]
90 Day Returns
Ride uninterrupted with Muc Off's Precision Tubeless Repair Capsule. It’s lightweight, easy-to-use, and the ultimate backup for those gnarly punctures that just won’t seal.
The tough and durable CNC machined 6061 aluminium body doubles as a stash for your worms and the tool’s handle is silicone wrapped for an easy grip in all conditions.
It’s both a puncture plug and a reamer tool thanks to the hardcore 304 Stainless steel 2 in 1 integral tool, and comes supplied with 5x thin, 5x medium, and 5x thick worms. It’s compatible with all tubeless road, gravel, and MTB tyres.
- Durable CNC Machined 6061 Aluminium construction
- Premium anodised finish
- Stainless Steel 2-in-1 puncture plug/reamer tool
- Integrated Presta valve core remover slot
- Compact capsule body stashes tyre worms
- Silicone wrap for grip
- Knurled screw in design with weatherproof O-ring
- Compatible with Road, Gravel, and MTBs with tubeless tyre setups
- Capsule/body: 6061 Aluminium
- Puncture Plug tool/reamer: 304 Stainless Steel
- Weight: ~26g (excluding plugs)
- 66 mm x 20 mm
- Colours: Available in Black and Pink
- Puncture Plug 2in1 tool and capsule
- Supplied with 15 plugs: 5 thin, 5 medium, 5 thick (Refill packs available separately).
- Cordura® stash pouch
How to Use:
- Identify the source of the puncture and remove the debris or puncture source.
- If the puncture requires the medium or larger worms then ream the hole several times with the knurled area of the tool, make sure you use a 45-degree angle and follow the direction of the tyre to ensure you don’t damage your tubeless tape or the tyre wall!
- Now Grab a tyre worm (you may need to use the tool to help slide out the worms). The largest size is for MTB tyres the medium for gravel tyres and the small for road tyres, but you can select the best one for your sized hole. Now pinch one end of the worm hard between your fingers to flatten it out. (If using the thin worm thread through the tip at the end of the tool, not the main larger slot)
- Thread through gap at the end of the tool so the worm is now sitting centrally on the tool.
- Locate the puncture hole then insert the tool through the hole (at a 45 degree angle and follow the direction of the tyre to ensure you don’t damage your tubeless tape or the tyre wall!) until the worm is around halfway through the tyre. Ensure the ends of the worm remain on the outside of the tire.
- Turning the tool slowly clockwise a few revolutions to twist the worm inside the tire and slowly pull up to remove – leaving the worm in your tyre and the hole plugged.
- Re-inflate tyre to your desired pressure and you’re ready to roll!(We recommend a max of 80 PSI on a road bike!)
- Once you are home we’d recommend trimming the worm ends down with a knife so there is a minimum of 3-5mm still sticking out the tyre. (Be careful when trimming).
TOP TIP! Simply trim down your different sized worms into singles or doubles and place them inside the capsule so you have multiple options for different sized punctures!
WARNING: Keep out of reach of children. The tool has SHARP EDGES so use with caution. For Road tyres we strongly recommend replacing your plugged tyre once it’s safe to do so, particularly if you want to use with high psi!
(We recommend a max of 80 PSI on a road bike!)


